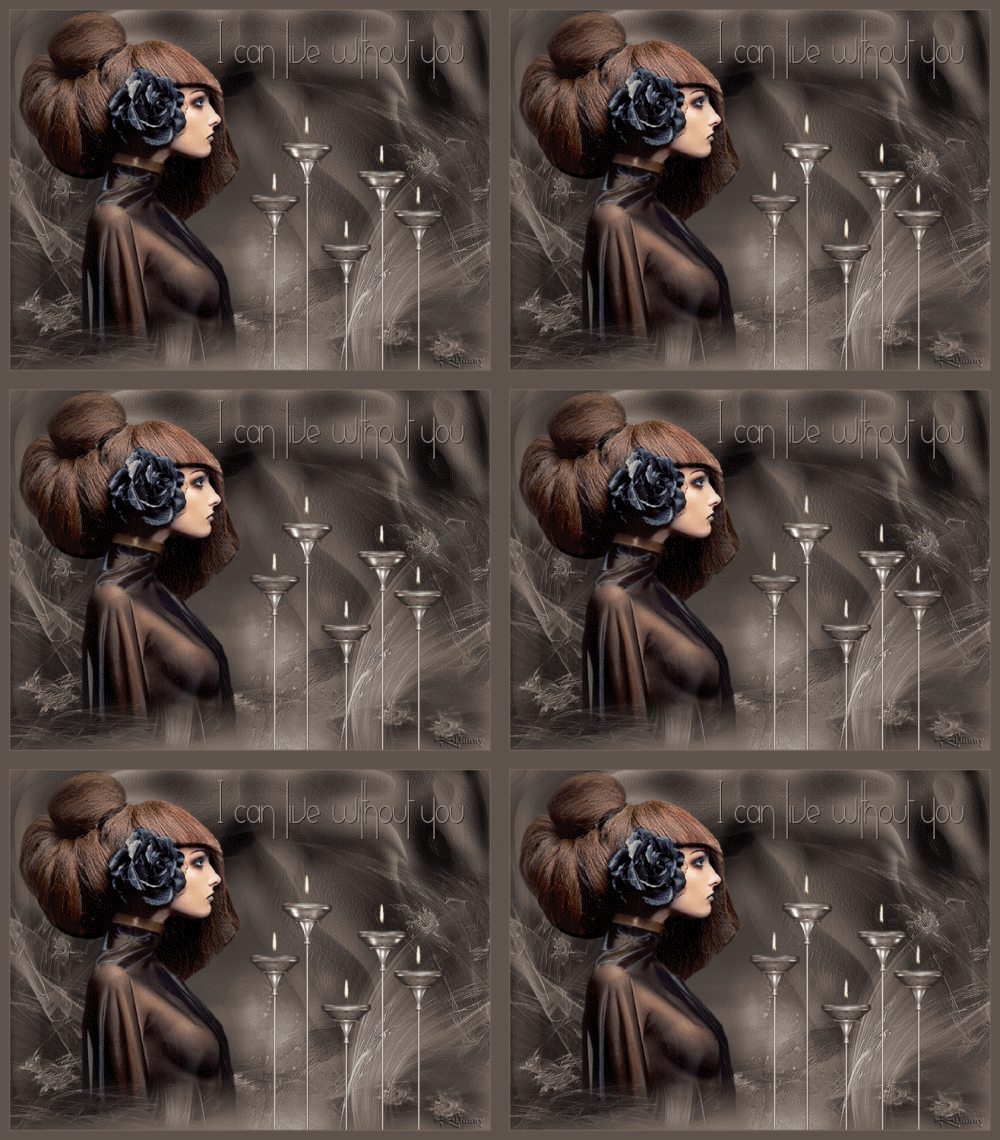
1 - Open a new transparent image 800 width and 600 height
2 - Selections - select all
3 - Open the wallpaper Jhanna_234_background
4 - Edit copy - edit paste in selection
5- Selections – select none
6 - Adjust hue and saturation - colerize K-17 and V-25
7 - Open 2694 – Luzcristina
8 - Resize in 700 height – width adjust
9 - Edit – copy - paste as new layer – put the image left
10 - Open ElvenCandles–BellesGraphics - go your tool
options, search eraser and delete the watermark
11 - Again - adjust hue and saturation - colerize K-17
and V-25
12 - Resize in 450 height – width adjust
13 - Edit – copy - paste as new layer
14 - Put the image right on the correct place
15 - Search again your eraser in the tool options and delete
the flames you see here. (Later new flames will appear in
Animation Shop)
16 - Layers merge
17 - Image – add borders - 2 px with color #70665b
18 - Image – add borders - 15 px with color #5f544e
19 - Image – add borders - 2 px with color #70665b
20 - Layers – new raster layer
21 - Open your text tool – search font Verticalization –size
72 –and place with color #a69b94 your name or watermark
22 - Edit – copy merged
23 - Open your Animation Shop – if you click with
your right mouse-part in the grey section, you will see
“paste as a new animation”
24 - With the little scrollbar on your mouse you can – if
you want - make the image smaller
25 - Edit copy – edit select all
26 - Open your animation gif “flame”
27 - I have already made and colored it
28 - Activate your image again and
paste after current frame till you have as many frames as
you have in your gift
29 -
Activate your gift
30 -
Edit – select all
31 - Click with your mouse in frame 1 – and put the gifts
in frame 1 of your image
32 - You have to do such at least 5 times – see if you have
enough gifts and check if they are on the right place
33 - View - Animation.
34 - Is the animation too quick? I opted for 20– but you
can change it in this way:
Go to Animation – frame properties – a higher number
reduces speed.
35 - Do you like it? OK - save as…. give your creation a
name and put in a folder at choice
36 - Nice lesson with a lovely effect
Good luck and I hope that you have had fun with the lesson.
Love, Hanny
Translate Rina
Thank you
Back

